Nix is a better Docker image builder than Docker's image builder
Fri Mar 15 2024 2024년 3월 15일 금요일
$50 of Fly.io Credits Fly.io 크레딧 $50
Coupon code go-fly-nix. Only valid for new accounts that have not used a DevRel coupon code before.
쿠폰 코드 go-fly-nix . 이전에 DevRel 쿠폰 코드를 사용한 적이 없는 새 계정에만 유효합니다.
Slides and Video 슬라이드 및 비디오
Slides: Google Drive
슬라이드: Google 드라이브
Script: Google Drive
스크립트: Google 드라이브
Video: Coming to YouTube Soon!
비디오: 곧 YouTube에 공개됩니다!
Want to watch this in your video player of choice? Take this:
선택한 비디오 플레이어에서 이것을 보고 싶으십니까? 이것을 받아라:
https://cdn.xeiaso.net/file/christine-static/video/2024/nixcon-na/index.m3u8
The Talk 토크
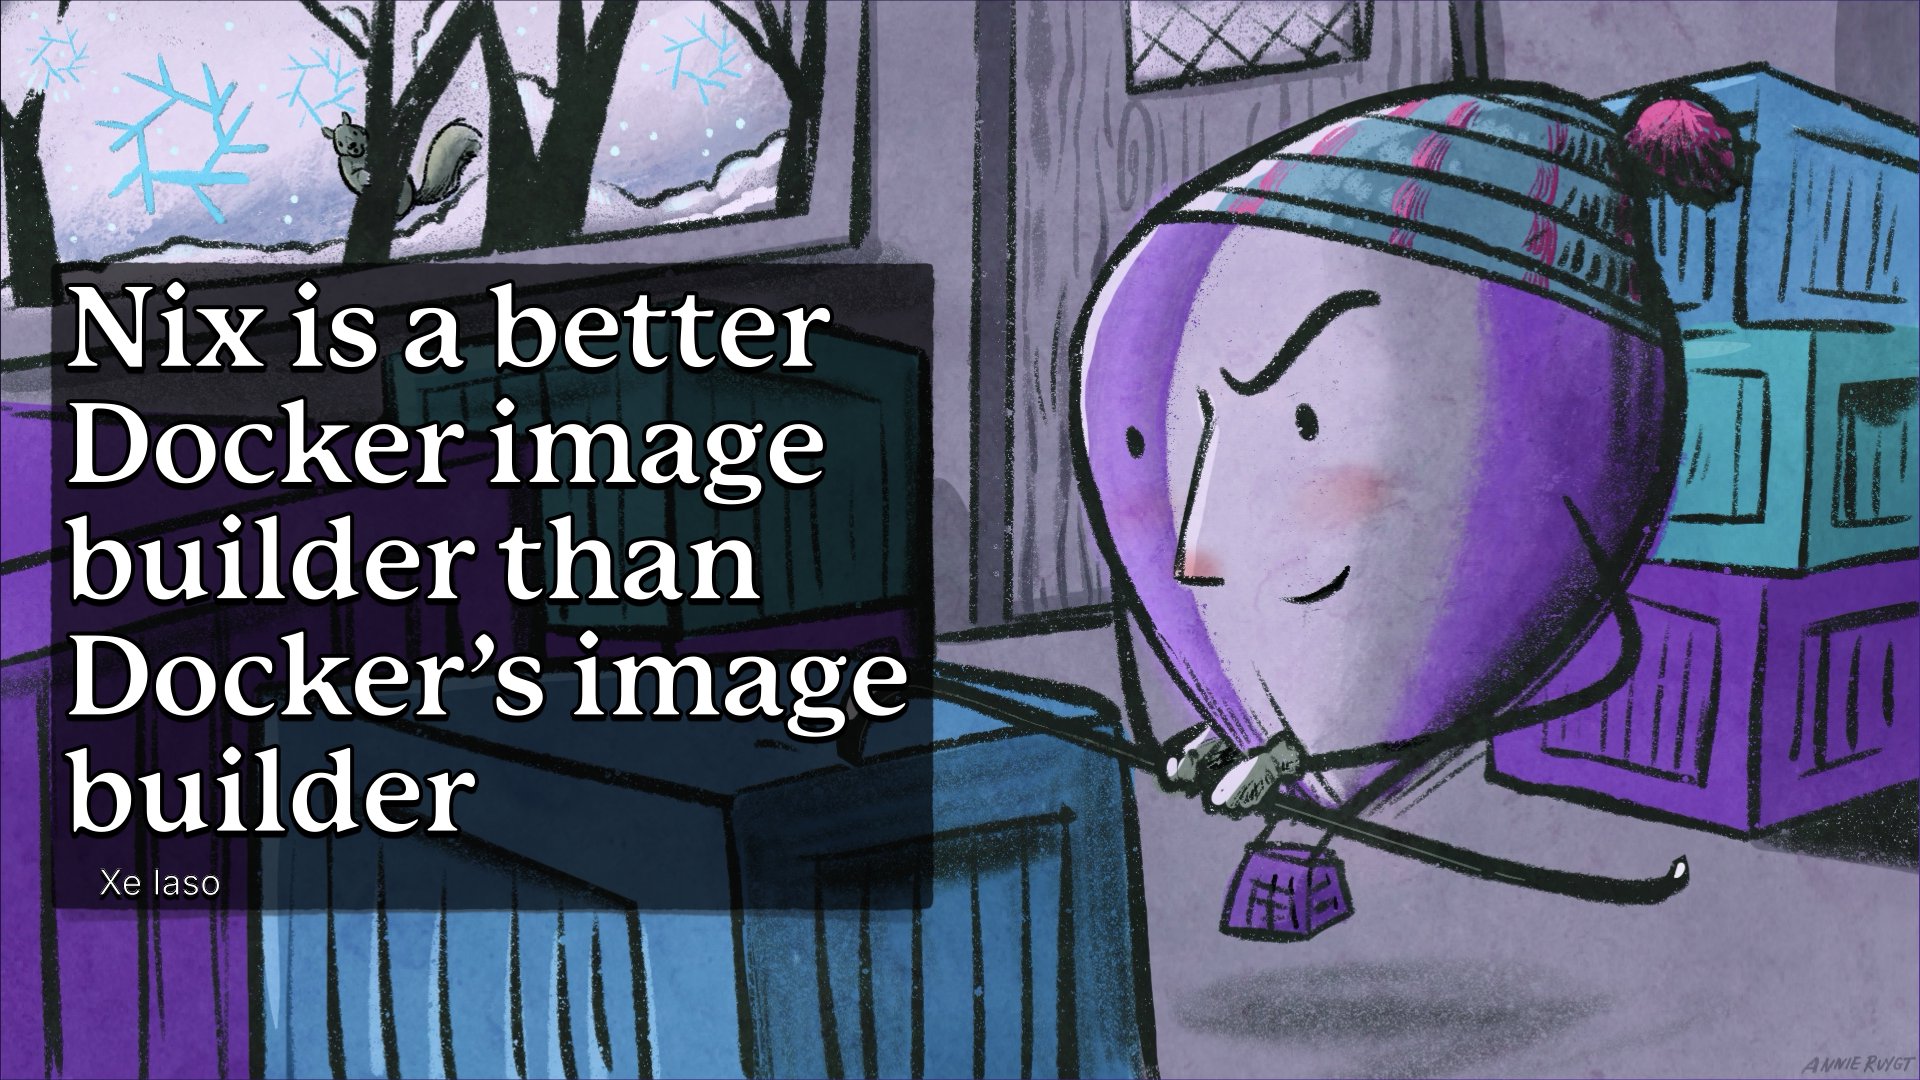
The title slide of the talk. It features a hot air balloon breaking into a shipping container with a crowbar. Art by Annie Rugyt.
강연의 제목 슬라이드입니다. 쇠지레로 선적 컨테이너를 부수는 열기구가 특징입니다. 애니 러짓(Annie Rugyt)의 예술 작품.
Hi, I'm Xe Iaso and today I'm gonna get to talk with you about one of my favourite tools: Nix. Nix is many things, but my super hot take is that it's a much better Docker image builder than Docker's image builder.
안녕하세요. 저는 Xe Iaso입니다. 오늘은 제가 가장 좋아하는 도구 중 하나인 Nix에 대해 이야기해보겠습니다. Nix는 많은 것들이 있지만 제가 가장 좋아하는 점은 이것이 Docker의 이미지 빌더보다 훨씬 더 나은 Docker 이미지 빌더라는 것입니다.
As many of you know, Nix is a tool that makes it easy to build packages based on the instructions you give it using its little domain-specific language. For reasons which are an exercise to the listener, this language is also called Nix.
많은 사람들이 알고 있듯이 Nix는 작은 도메인별 언어를 사용하여 제공한 지침에 따라 패키지를 쉽게 구축할 수 있게 해주는 도구입니다. 청취자에게 연습이 되는 이유로 이 언어는 Nix라고도 합니다.
A Nix package can be just about anything, but usually you'll see Nix being used to build software packages, your own custom python tooling, OS hard drive image, or container images.
Nix 패키지는 무엇이든 될 수 있지만 일반적으로 Nix는 소프트웨어 패키지, 사용자 정의 Python 도구, OS 하드 드라이브 이미지 또는 컨테이너 이미지를 빌드하는 데 사용됩니다.
If you've never used it before, Nix is gonna seem a bit weird. It's going to feel like you're doing a lot of work up front, and that's because at some level it is. You're doing work today that you would have done in a few months anyways. I'll get into more detail about this as the talk goes on.
이전에 사용해 본 적이 없다면 Nix가 좀 이상하게 보일 것입니다. 당신이 앞으로 많은 일을 하고 있는 것처럼 느껴질 것인데, 그것은 어떤 수준에서는 그렇기 때문입니다. 어쨌든 당신은 몇 달 안에 해야 할 일을 오늘 하고 있습니다. 이에 대해서는 대화가 진행되는 동안 더 자세히 설명하겠습니다.
As I said, I'm Xe Iaso. I'm the Senior Technophilosopher at Fly.io where I do developer relations. My friends and loved ones can attest that I have a slight tendency to write on my blog. I've been using Nix and NixOS across all of my personal and professional projects for the last four years. I live in Ottawa with my husband.
내가 말했듯이, 나는 XE IASO입니다. 나는 개발자 관계를하는 Fly.io의 선임 Technophilosopher입니다. 내 친구와 사랑하는 사람들은 내 블로그에 글을 쓰는 경향이 약간 있음을 증명할 수 있습니다. 저는 지난 4 년간 개인 및 전문 프로젝트에서 Nix와 Nixos를 사용해 왔습니다. 나는 남편과 함께 오타와에 살고 있습니다.
It's the morning and I know we're all waiting for that precious bean juice to kick in. Let's get that blood pumping with a little exercise. If you've read my blog before, can you raise your hand?
아침이고 나는 우리 모두가 그 소중한 콩 주스가 차기를 기다리고 있다는 것을 알고 있습니다. 약간의 운동으로 혈액을 펌핑하자. 전에 내 블로그를 읽었다면 손을 올릴 수 있습니까?
(Ad-lib on the number of hands raised)
(손의 수에 대한 AD-LIB)
Okay, that's good. Raise your hand if this is your first introduction to Nix or NixOS.
좋아요, 좋습니다. 이것이 Nix 또는 Nixos에 대한 첫 번째 소개라면 손을 들어보십시오.
(Ad-lib again) (Ad-lib 다시)
How about if you're a Nix or NixOS expert? Raise your hand if you'd call yourself a Nix or NixOS expert.
닉스 또는 닉스 전문가라면 어떨까요? 자신을 닉스 또는 닉스 전문가라고 부르면 손을 들어보세요.
(Ad-lib again) (Ad-lib 다시)
Finally, Raise your hand if you got into Nix or NixOS because of my blog.
마지막으로, 내 블로그 때문에 닉스 나 닉스에 들어간 경우 손을 들어보세요.
(Ad-lib again) (Ad-lib 다시)
Alright thanks, you can lower your hands now.
알겠습니다. 이제 손을 내릴 수 있습니다.
This talk is a bit more introductory. There's a mixed audience here of people that are gonna be more hardcore Nix users and people that have probably never heard of Nix before. I want this talk to be a bridge so that those of you who are brand new to Nix can understand what it's about and why you should care. For those of you who have ascended the mortal plane with NixOS powers, maybe this can help you realize where we're needed most. Today I'm gonna cover what Nix is, why it's better than Docker at making Docker images, and some neat second-order properties of Nix that makes it so much more efficient in the long run.
이 대화는 조금 더 소개됩니다. 여기에는 더 많은 하드 코어 닉스 사용자가 될 사람들과 이전에 닉스에 대해 들어 본 적이없는 사람들의 혼합 청중이 있습니다. 나는이 대화가 다리가되기를 원합니다. 그래서 Nix를 처음 접하는 사람들은 그것이 무엇에 관한 것인지, 왜 당신이 돌봐야하는지 이해할 수 있습니다. 닉스 파워로 필멸의 비행기를 올라간 사람들에게는 이것이 우리가 가장 필요한 곳을 깨닫는 데 도움이 될 수 있습니다. 오늘 저는 Nix가 무엇인지, Docker 이미지를 만드는 데 Docker보다 더 나은 이유와 Nix의 깔끔한 2 차 속성으로 인해 장기적으로 훨씬 더 효율적입니다.
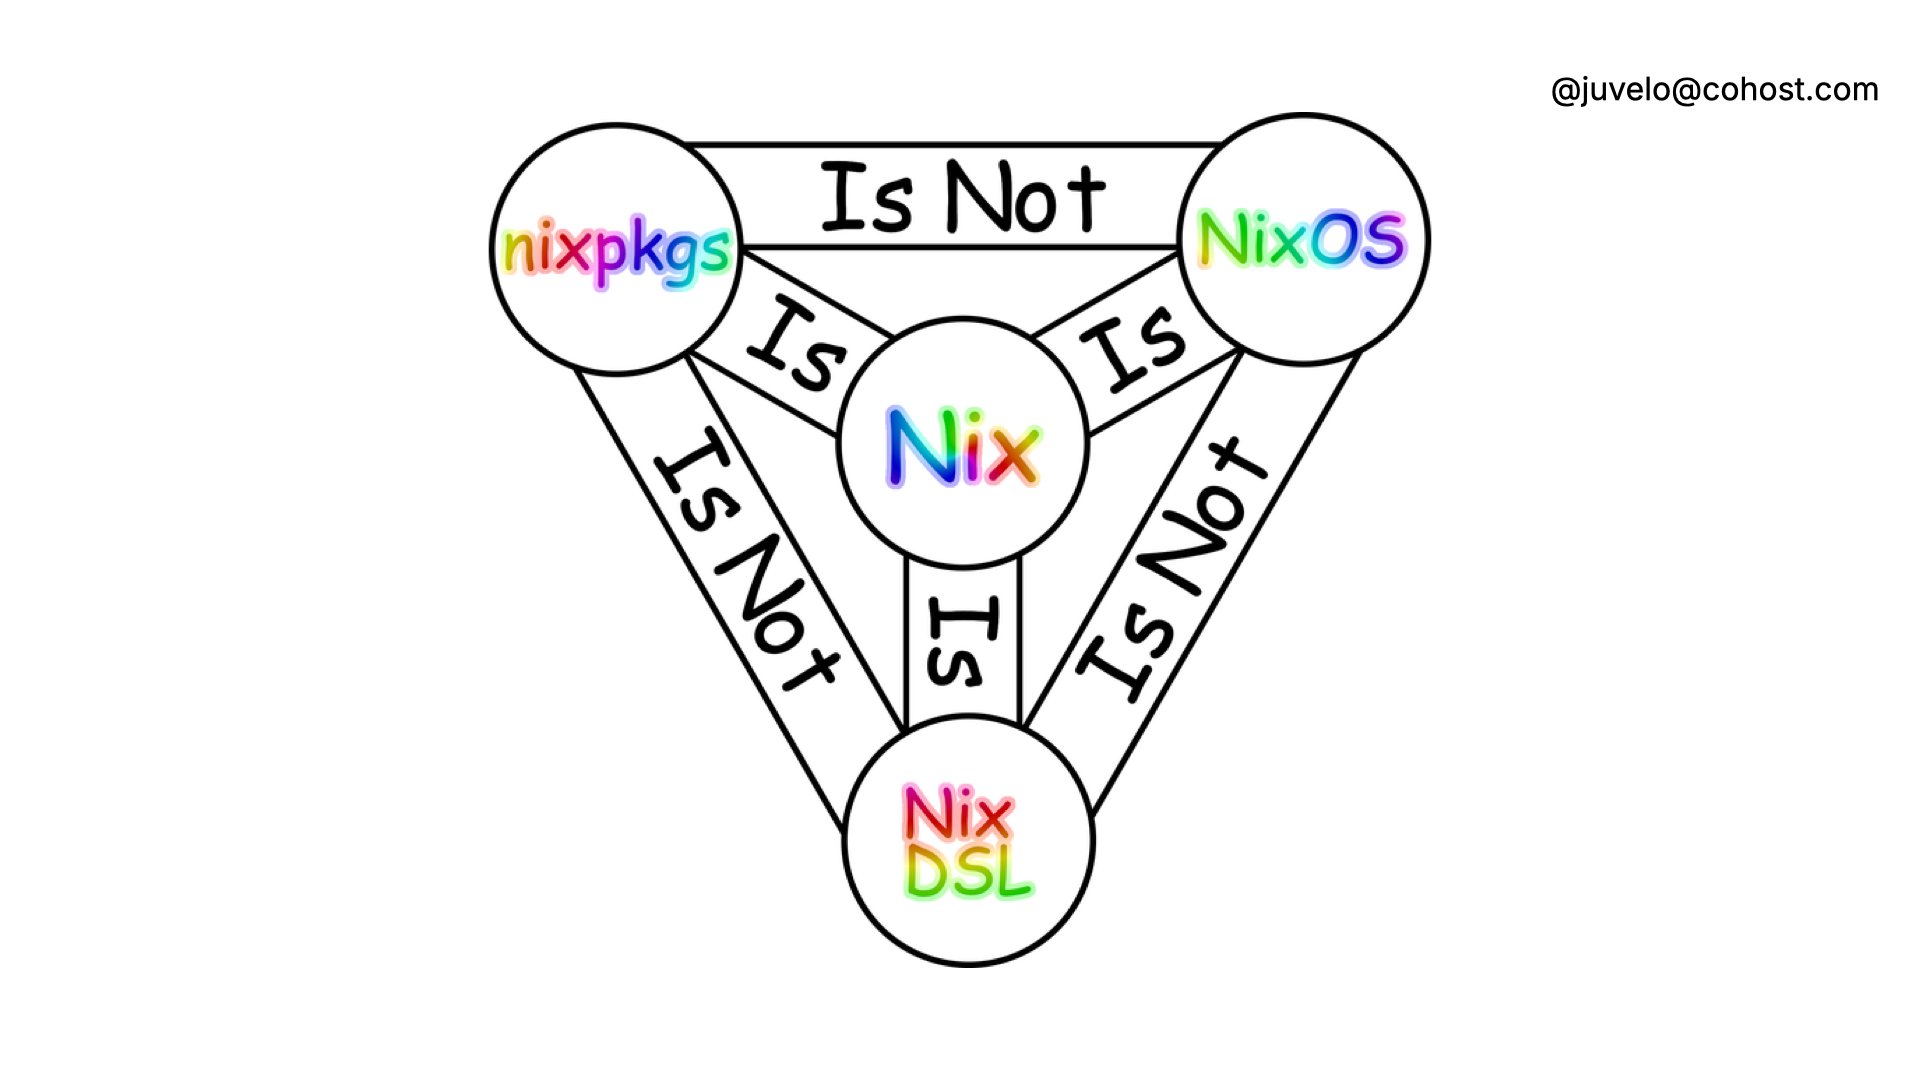
The holy trinity of Nix, showing that Nix the language, the package manager, and the OS are different facets of the same thing.
닉스의 거룩한 삼위 일체, 닉스는 언어, 패키지 관리자 및 OS가 같은 것의 다른 측면임을 보여줍니다.
Nix is just a package manager, right? Well, it's a bit more. It's a package manager, a language, and an operating system. It's kind of a weird balance because they all have the name "Nix", but you can use this handy diagram to split the differences. You use Nix the language to make Nix the package manager build packages. Those packages can be anything from software to entire NixOS images.
닉스는 단지 패키지 관리자 일뿐입니다. 글쎄, 조금 더. 패키지 관리자, 언어 및 운영 체제입니다. 그들은 모두 "nix"라는 이름을 가지고 있기 때문에 일종의 이상한 균형이지만,이 편리한 다이어그램을 사용하여 차이점을 분할 할 수 있습니다. 닉스 언어를 사용하여 패키지 관리자가 패키지를 작성합니다. 이러한 패키지는 소프트웨어에서 전체 닉스 이미지에 이르기까지 모든 것이 될 수 있습니다.
This is compounded by the difficulty of adopting Nix at work if you have anything but a brand new startup or homelab that's willing to burn down everything and start anew with Nix. Nix is really different than what most developers are used to, which makes it difficult to cram into existing battle-worn CI/CD pipelines.
이것은 모든 것을 불 태우고 Nix로 새로 시작하려는 새로운 스타트 업이나 Homelab 이외의 경우 직장에서 Nix를 채택하기가 어렵다는 점에서 더욱 악화됩니다. Nix는 대부분의 개발자가 익숙한 것과 실제로 다르므로 기존 전투웨어 CI/CD 파이프 라인에 들어가기가 어렵습니다.
This is not sustainable. I'm afraid that if there's not a bridge like this, Nix will wilt and die because of the lack of adoption.
이것은 지속 가능하지 않습니다. 이와 같은 다리가 없다면 입양 부족으로 인해 닉스가 시들어지고 죽을 것이 두렵습니다.
I want to show you how to take advantage of Nix today somewhere that it's desperately needed: building and deploying container images.
컨테이너 이미지를 제작하고 배포하는 데 필사적으로 필요한 곳에서 Nix를 활용하는 방법을 보여 드리고자합니다.
The docker logo on a sky background.
하늘 배경의 도커 로고.
To say that Docker won would be an understatement. My career started just about the same time that Docker left public beta. Docker and containerization has been adopted so widely that I'd say that Docker containers have become the de-facto universal package format of the Internet. Modern platforms like Fly.io, Railway, and Render could let people run arbitrary VM images or Linux programs in tarball slugs, but they use Docker images because that works out better for everyone.
Docker Won은 과소 평가 일 것입니다. 내 경력은 Docker가 공개 베타를 떠난 것과 거의 같은시기에 시작되었습니다. Docker와 Containization은 Docker 컨테이너가 인터넷의 유니버설 패키지 형식이되었다고 말하면서 널리 채택되었습니다. Fly.io, Railway 및 Render와 같은 최신 플랫폼은 사람들이 Tarball 슬러그에서 임의의 VM 이미지 또는 Linux 프로그램을 실행할 수 있지만 Docker 이미지를 사용하여 모든 사람에게 더 잘 작동하기 때문에 Docker 이미지를 사용합니다.
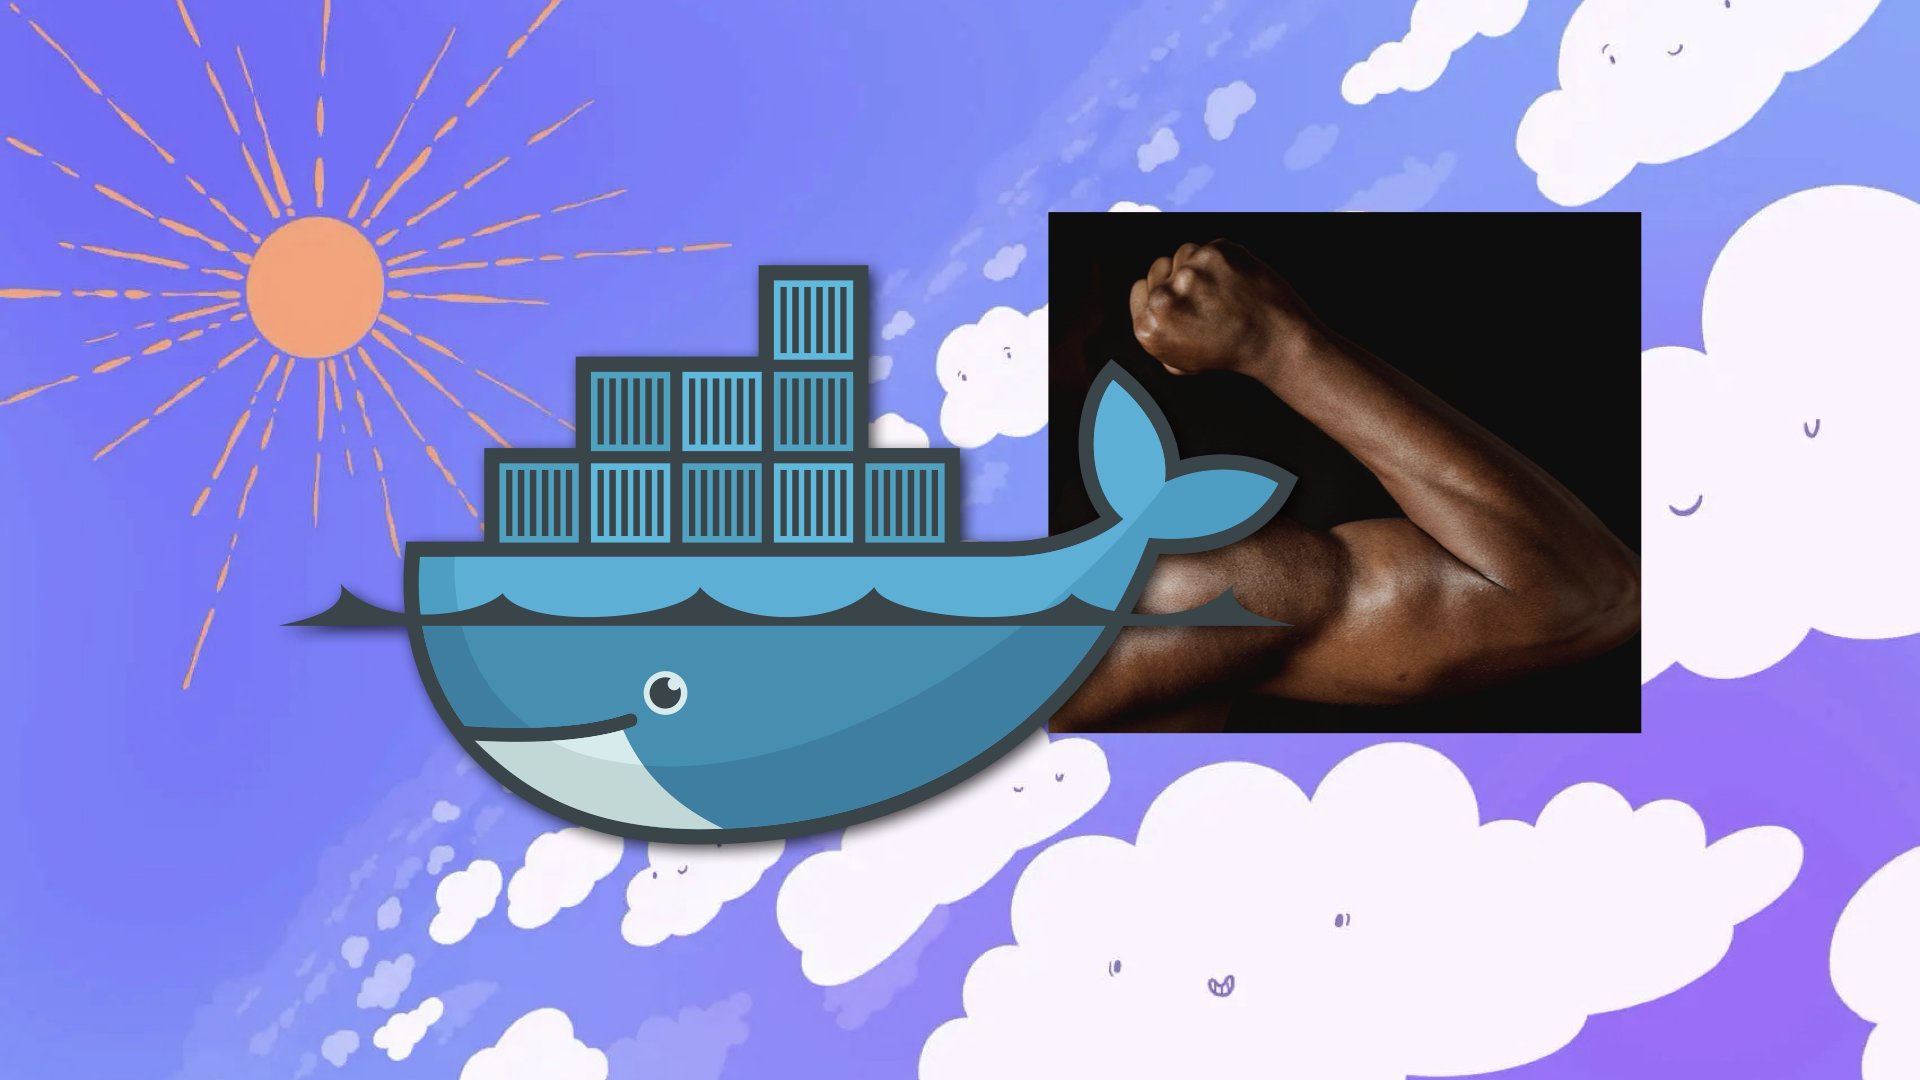
The docker logo with a badly photoshopped muscle-bound beefy arm on a sky background.
하늘 배경에 Photosphopped Muscle ound Beefy Arm이있는 Docker 로고.
This gives people a lot of infrastructure superpowers and the advantages make the thing sell itself. It's popular for a reason. It solves real-world problems that previously required complicated cross-team coordination. No more arguing with your sysadmin or SRE team over upgrading your local fork of Ubuntu to chase the dragon with package dependencies!
이것은 사람들에게 많은 인프라를 제공하며 장점으로 인해 물건을 판매합니다. 이유가 인기가 있습니다. 이전에 복잡한 크로스 팀 조정이 필요한 실제 문제를 해결합니다. 더 이상 Sysadmin 또는 SRE 팀과 함께 Ubuntu의 로컬 포크를 업그레이드하여 용 의존성으로 용을 쫓아내는 것에 대해 더 이상 논쟁하지 마십시오!
However, there's just one fatal flaw:
그러나 한 가지 치명적인 결함이 있습니다.
Docker builds are not deterministic. Not even slightly. Sure, the average docker file you find on the internet will build 99.99% of the time, but that last 0.01% is where the real issues come into play.
Docker 빌드는 결정적이지 않습니다. 약간도. 물론 인터넷에서 찾은 평균 도커 파일은 시간의 99.99%를 구축하지만, 마지막 0.01%는 실제 문제가 발생하는 곳입니다.
Speaking as a former wielder of the SRE shouting pager, that last 0.01% of problems ends up coming into play at 4am. Always 4am, never while you are at work.
SRE Shouting Pager의 전 윌터로 말하면서, 지난 0.01%의 문제가 오전 4시에 진행됩니다. 항상 오전 4시, 직장에있는 동안 절대 절대.
<Cadey>
Ask me how I know.
< Cadey >
내가 어떻게 아는 지 물어봐.
One of the biggest problems that doesn't sound like a problem at first is that Docker builds have access to the public Internet. This is needed to download packages from the Ubuntu repositories, but that also means that it's hard to go back and recreate the exact state of the Ubuntu repositories when you inevitably need to recreate an image at a future date.
처음에는 문제가되지 않는 가장 큰 문제 중 하나는 Docker Builds가 공개 인터넷에 액세스 할 수 있다는 것입니다. 이것은 우분투 저장소에서 패키지를 다운로드하는 데 필요하지만, 이는 미래에 이미지를 재현해야 할 때 우분투 저장소의 정확한 상태를 되돌아 가기가 어렵다는 것을 의미합니다.
Remember, Ubuntu 18.04 is going out of support this year! You're going to have a flag day finding out what depends on that version of Ubuntu when things break and not any sooner.
우분투 18.04는 올해 지원을 중단하고 있습니다! 당신은 깃발의 날이 일이 끊어지고 더 빨리 일어나지 않을 때 Ubuntu의 버전에 의존하는 것을 찾을 것입니다.
Even more fun, adding packages to a docker image the naïve way means that you get wasted space. If you run apt-get upgrade at the beginning of your docker build, you can end up replacing files in the container image. Those extra files end up being some "wasted space" shadow copies that will add up over time, especially with AWS charging you per millibyte of disk space and network transfer or whatever.
더 재미, 도커 이미지에 패키지를 추가하면 순진한 방법은 공간을 낭비한다는 것을 의미합니다. Docker 빌드의 시작 부분에서 apt-get upgrade 실행하면 컨테이너 이미지에서 파일을 교체 할 수 있습니다. 이 추가 파일은 시간이 지남에 따라 더해지는 "낭비 된 공간"그림자 사본, 특히 Disk 공간 및 네트워크 전송 등의 밀리바이트 당 AWS가 충전되는 일부 "낭비 된 공간"그림자 사본이됩니다.
<Aoi>
What if we had the ability to know all of the dependencies that are needed ahead of time and then just use those? What if your builds didn't need an internet connection at all?
< AOI >
필요한 모든 의존성을 알 수있는 능력이 있다면 어떨까요? 미리, 그냥 사용 하시겠습니까? 빌드에 필요하지 않은 경우 어떻게해야합니까? 인터넷 연결?

The Nix/NixOS logo on a purple and black gradient background.
보라색 및 검은 그라디언트 배경의 닉스/닉스 로고.
This is the real advantage of Nix when compared to docker builds. Nix lets you know exactly what you're depending on ahead of time and then can break that into the fewest docker layers possible. This means that pushing updates to your programs only means that the minimal number of changes are actually made. You don't need to wait for apt or npm to install your dependencies yet again just to change a single line of code in your service.
이것은 Docker 빌드와 비교할 때 Nix의 진정한 이점입니다. Nix는 미리에 따라 무엇을 정확히 알 수있게 한 다음 가능한 가장 적은 Docker 층으로 나눌 수 있습니다. 즉, 프로그램에 대한 업데이트를 푸시하면 최소한의 변경이 실제로 이루어짐을 의미합니다. APT 또는 NPM이 서비스의 한 줄의 코드를 변경하기 위해 APT 또는 NPM을 다시 설치할 때까지 기다릴 필요가 없습니다.
I think one of the best ways to adopt it is to use it to build docker images. This helps you bridge the gap so that you can experiment with new tools without breaking too much of your existing workflows.
나는 그것을 채택하는 가장 좋은 방법 중 하나가 그것을 사용하여 도커 이미지를 만드는 것이라고 생각합니다. 이는 기존 워크플로우를 너무 많이 중단하지 않고 새로운 도구를 실험할 수 있도록 격차를 줄이는 데 도움이 됩니다.
As an example, let's say I have a Go program that gives you quotes from Douglas Adams. I want to deploy it to a platform that only takes Docker images, like Fly.io, Railway, or Google Cloud Functions.
예를 들어, Douglas Adams의 인용문을 제공하는 GO 프로그램이 있다고 가정 해 봅시다. Fly.io, Railway 또는 Google Cloud 기능과 같은 Docker 이미지 만 가져 오는 플랫폼에 배포하고 싶습니다.
In order to do this, I'd need to do a few things: First, I'd need to build the program into a package with Nix and make sure it works. Then I'd need to turn that into a docker image, load it into my docker daemon, and push it to their registry. Finally I can deploy my application and everyone can benefit from the wisdom of days gone past.
이를 위해서는 몇 가지 작업을 수행해야합니다. 먼저 NIX와 함께 패키지로 프로그램을 작성하고 작동하는지 확인해야합니다. 그런 다음 그것을 Docker 이미지로 바꾸고 Docker 데몬에로드하여 레지스트리로 밀어야합니다. 마지막으로 응용 프로그램을 배치 할 수 있으며 모든 사람이 지나간 지혜의 지혜로부터 혜택을받을 수 있습니다.
Here's what that package definition looks like in my project's Nix flake. Let's break this down into parts.
내 프로젝트의 닉스 플레이크에서 그 패키지 정의가 어떻게 보이는지는 다음과 같습니다. 이것을 부분적으로 분류합시다.
bin = pkgs.buildGoModule {
  pname = "douglas-adams-quotes";
  inherit version;
  src = ./.;
  vendorHash = null;
};
This project is in a Go module, so pkgs.buildGoModule tells Nix to use the Go module template. That template will set everything up for us: mainly the Go compiler, a C compiler for CGo code, and downloading any external dependencies for you.
이 프로젝트는 GO 모듈에 있으므로 pkgs.buildGoModule Nix에게 GO 모듈 템플릿을 사용하도록 지시합니다. 이 템플릿은 주로 GO 컴파일러, CGO 코드를위한 C 컴파일러, 외부 종속성을 다운로드하는 모든 것을 설정합니다.
Here are the arguments to the buildGoModule function: a package name, the version, the path to the source code, and the hash of the external dependencies.
buildGoModule 함수에 대한 인수는 다음과 같습니다. 패키지 이름, 버전, 소스 코드 경로, 외부 종속 항목의 해시입니다.
The name of the package is "Douglas Adams Quotes" in kebab case, the version is automagically generated from the git commit of the service, the source code is in the current working directory, and I don't need anything beyond Go's standard library. If you need external dependencies, you can specify the hash of all the dependencies here or use gomod2nix to automate this (it's linked in the description at the end of the talk).
패키지의 이름은 Kebab Case에서 "Douglas Adams Quotes"이며, 버전은 서비스의 GIT 커밋에서 자동으로 생성되며 소스 코드는 현재 작업 디렉토리에 있으며 GO의 표준 라이브러리 이외의 것은 필요하지 않습니다. 외부 종속성이 필요한 경우 여기의 모든 종속성의 해시를 지정하거나 gomod2nix 사용하여이를 자동화 할 수 있습니다 (대화가 끝날 때 설명에 연결되어 있음).
# nix build .#bin
Now that we have a package definition, you can build it with nix build dot hash bin. That makes Nix build the bin package in your flake and put the result in dot slash result.
이제 패키지 정의가 있으므로 nix build dot hash bin을 사용하여 패키지 정의를 빌드할 수 있습니다. 그러면 Nix가 플레이크에 bin 패키지를 만들고 그 결과를 도트 슬래시 결과에 넣습니다.
Next comes building that into a Docker image with the dockerTools family of helpers. dockerTools lets you take that Nix package you just made and put it and all its dependencies into a Docker image so you can deploy it.
다음은 dockerTools 도우미 제품군을 사용하여 Docker 이미지에 이를 구축하는 것입니다. dockerTools를 사용하면 방금 만든 Nix 패키지와 모든 종속 항목을 Docker 이미지에 넣어 배포할 수 있습니다.
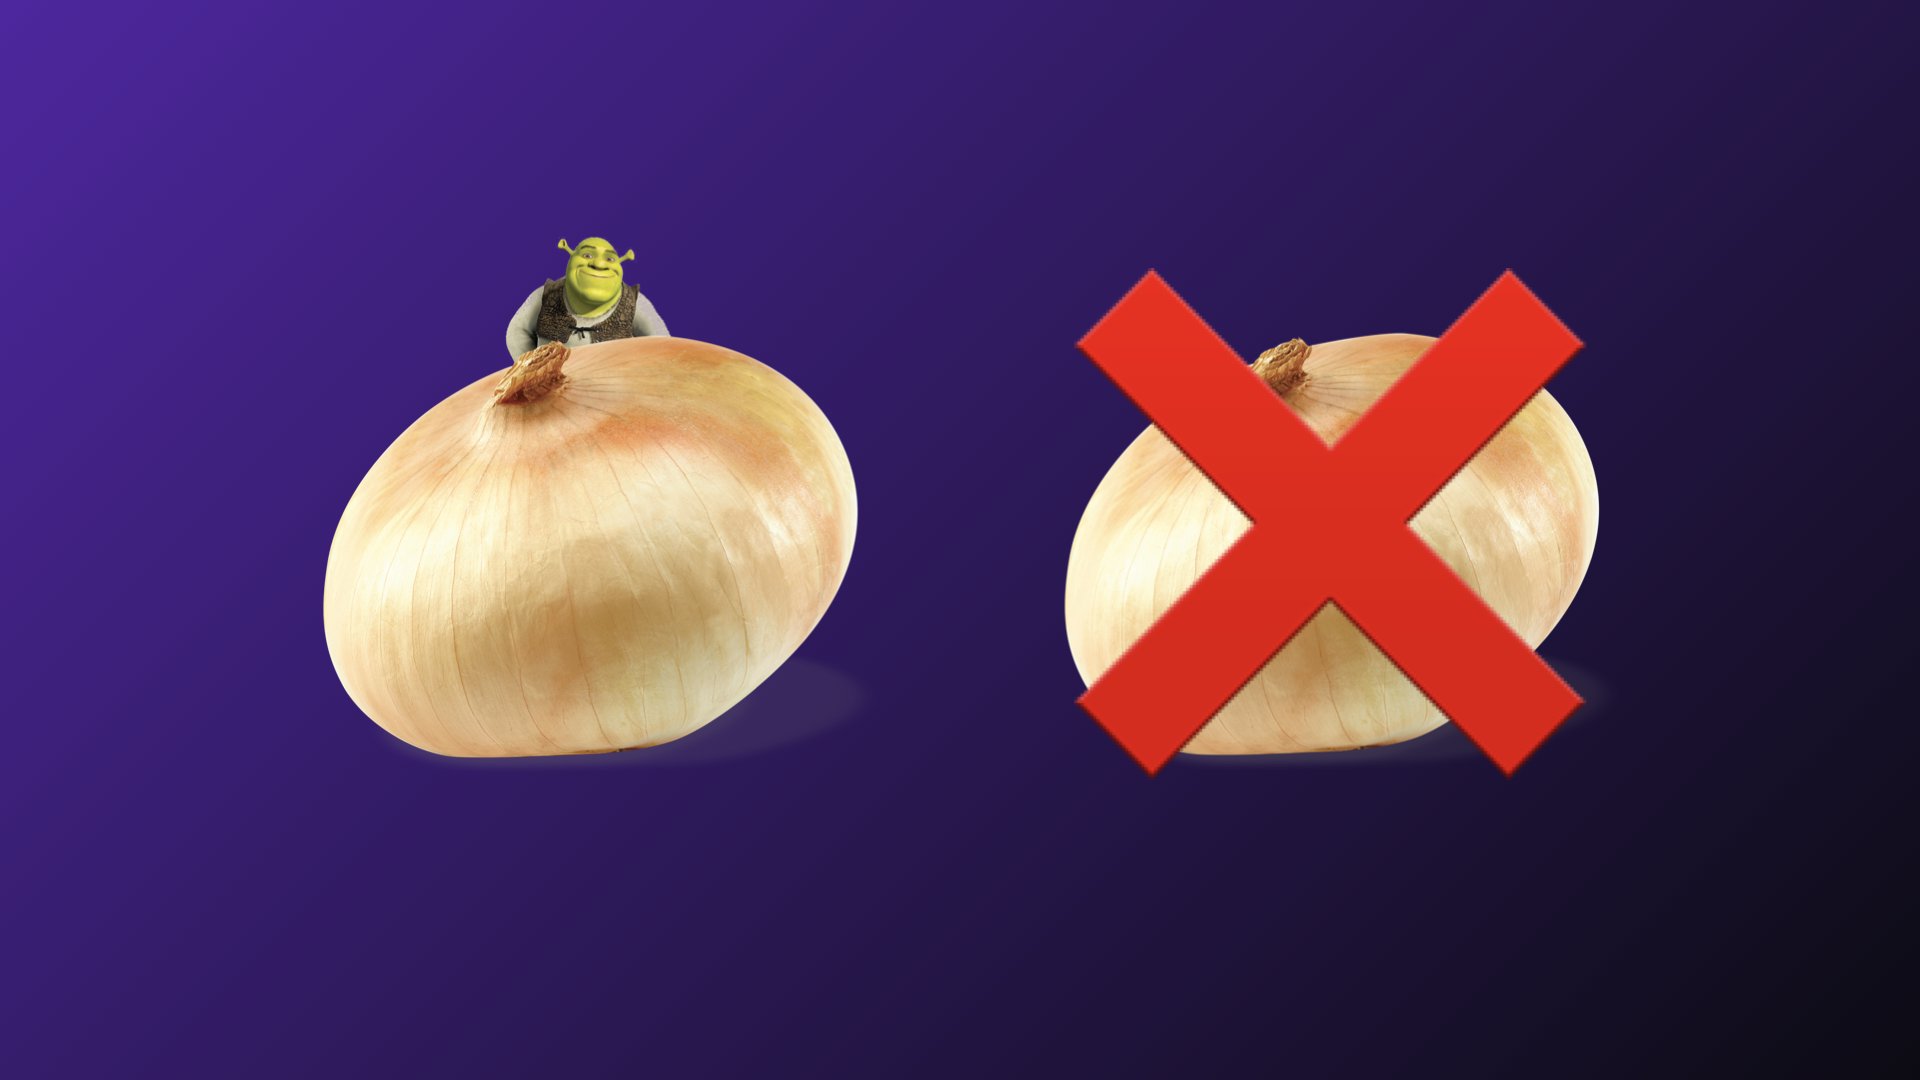
An onion and an onion with an X over it. An onion is a visual metaphor for layered Docker images.
양파와 양파 위에 X 표시가 있습니다. 양파는 계층화된 Docker 이미지를 시각적으로 표현한 것입니다.
There's two basic ways to use it, making a layered image and a non-layered image.
그것을 사용하는 두 가지 기본 방법이 있으며, 계층화 된 이미지와 비 층 이미지를 만듭니다.
A non-layered image is the simplest way to use Nix to build a docker image. It takes the program, its dependencies, any additional things like TLS root certificates and puts it all into a folder to be exposed as a single-layer docker image.
비 층 이미지는 Nix를 사용하여 Docker 이미지를 작성하는 가장 간단한 방법입니다. 프로그램, 의존성, TLS 루트 인증서와 같은 추가 사항이 필요하며 모든 것을 폴더에 넣어 단일 계층 Docker 이미지로 노출됩니다.
This works, but it doesn't really let us take advantage of the benefits of Nix. Making any change to a non-layered image means you have to push all of the things that haven't changed. Nix knows what all your dependencies are, so it should be able to take advantage of that when building a container image. Why should you have to upload new copies of glibc and the python interpreter over and over?
이것은 작동하지만 실제로 닉스의 이점을 활용할 수는 없습니다. 층이없는 이미지를 변경하면 변경되지 않은 모든 것들을 밀어야합니다. Nix는 모든 종속성이 무엇인지 알고 있으므로 컨테이너 이미지를 만들 때이를 활용할 수 있어야합니다. GLIBC와 Python 통역사의 새 사본을 계속해서 업로드 해야하는 이유는 무엇입니까?
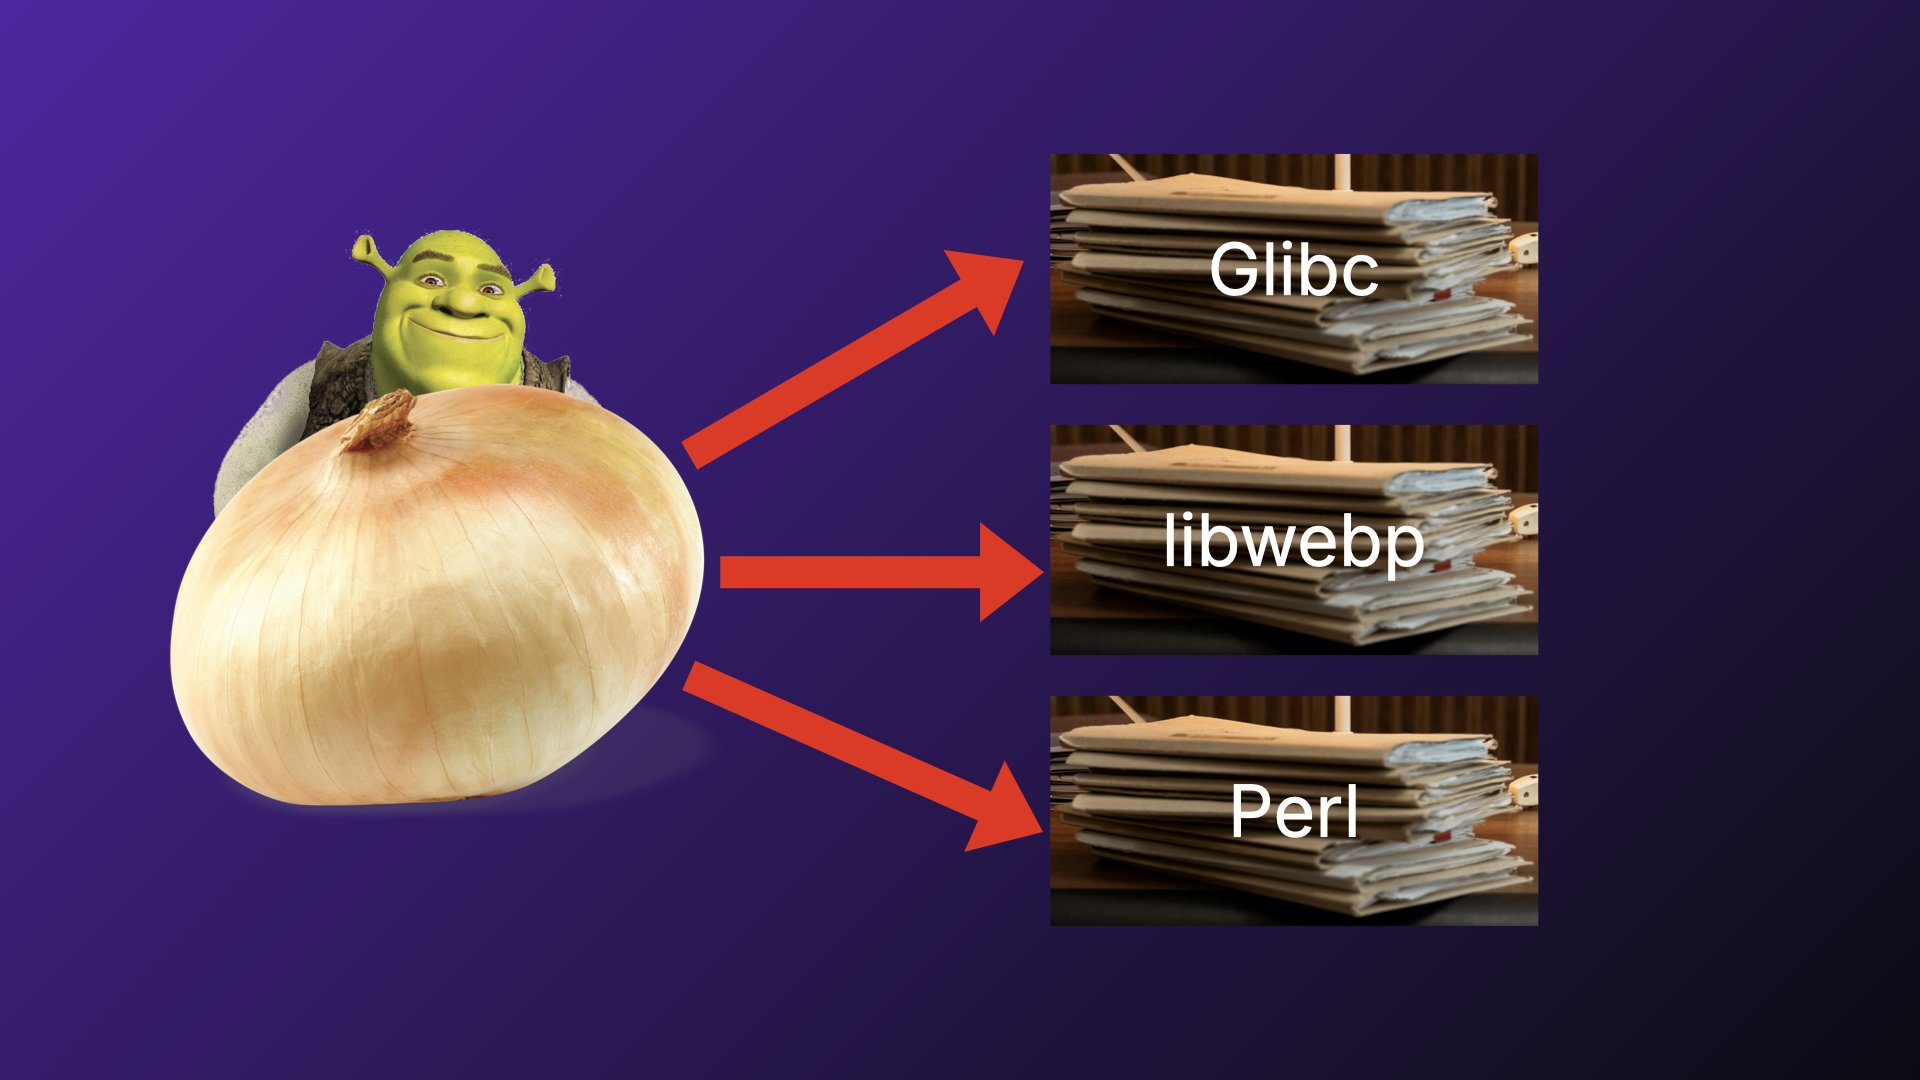
An onion pointing to a bunch of folders with Nix packages in its layers.
레이어에 Nix 패키지가 포함된 여러 폴더를 가리키는 양파입니다.
Nix also lets you make a layered image. A layered image puts every dependency into its own image layer so you only upload the parts of your image that have actually changed. Made an update to the webp library to fix a trivial bounds checking vulnerability because nobody writes those libraries in memory-safe languages? The only thing that'd need to be uploaded is that single webp library layer.
닉스를 사용하면 레이어드 이미지를 만들 수 있습니다. 계층화 된 이미지는 모든 종속성을 자체 이미지 레이어에 넣으므로 실제로 변경된 이미지의 부분 만 업로드합니다. 아무도 메모리-안전 언어로 해당 라이브러리를 쓰지 않기 때문에 사소한 경계 확인 취약점을 수정하기 위해 Webp 라이브러리를 업데이트 했습니까? 업로드해야 할 유일한 것은 단일 웹 라이브러리 계층입니다.
The reason why this works is that there's a dirty secret deep into Docker that nobody can really take advantage of: Docker has a content-aware store baked into the heart of it, but because docker build isn't made with it in mind, nothing is really able to take advantage of it.
이것이 작동하는 이유는 아무도 실제로 이용할 수없는 Docker에 대한 더러운 비밀이 있기 때문입니다. Docker는 콘텐츠 인식 상점이 핵심으로 구워졌지만 docker build 염두에 두지 않기 때문에 아무것도 생각하지 않기 때문에 아무것도 없습니다. 실제로 그것을 활용할 수 있습니다.
Except Nix! A layered image means that every package is in its own layer, so glibc only needs to get uploaded once...
닉스를 제외하고! 계층화 된 이미지는 모든 패키지가 자체 레이어에 있다는 것을 의미하므로 GLIBC는 한 번만 업로드하면됩니다 ...
<Cadey>
...until we find yet another trivial memory safety vulnerability in glibc that's been ignored for my entire time on this planet and need to have a fire day rebuilding everything to cope.
< Cadey >
... GLIBC에서 또 다른 사소한 메모리 안전 취약점을 찾을 때까지 그것은이 지구상에서 내 시간 동안 무시되었고 불이 필요합니다. 하루를 대처하기 위해 모든 재건.
Here's what a layered docker image build for that Douglas Adams quotes service would look like:
Douglas Adams 인용 서비스가 다음과 같은 계층화 된 Docker Image Build는 다음과 같습니다.
docker = pkgs.dockerTools.buildLayeredImage {
  name = "registry.fly.io/douglas-adams-quotes";
  tag = "latest";
  config.Cmd = "${bin}/bin/douglas-adams-quotes";
};
Again, let's break it down.
다시, 그것을 분해합시다.
You start by saying that you want to build a layered image by calling the dockerTools.buildLayeredImage function with the image name and tag, just like you would with docker build. Now comes the fun part: the rest of the container image.
docker build 에서와 마찬가지로 이미지 이름과 태그를 사용하여 dockerTools.buildLayeredImage 함수를 호출하여 계층화된 이미지를 빌드한다고 말하는 것부터 시작합니다. 이제 재미있는 부분인 컨테이너 이미지의 나머지 부분이 나옵니다.
config.Cmd = "${bin}/bin/douglas-adams-quotes";
Just tell Nix that the container should run the built version of the Douglas Adams quotes server and bam, everything'll be copied over for you. Glibc will make it over as well as whatever detritus you need to make Glibc happy these days.
컨테이너가 Douglas Adams 견적 서버 및 bam의 빌드된 버전을 실행해야 한다고 Nix에게 말하면 모든 것이 복사됩니다. Glibc는 요즘 Glibc를 행복하게 만드는 데 필요한 모든 잔해물뿐만 아니라 그것을 다시 만들어 줄 것입니다.
If you need to add something like the CA certificate root, you can specify it with the contents argument. You can use this to add any package from nixpkgs into your image. My website uses this to add Typst, Deno, and Dhall tools to the container.
CA 인증서 루트와 같은 것을 추가 해야하는 경우 contents 인수로 지정할 수 있습니다. 이것을 사용하여 Nixpkgs의 패키지를 이미지에 추가 할 수 있습니다. 내 웹 사이트는 이것을 사용하여 Typst, Deno 및 Dhall 도구를 컨테이너에 추가합니다.
docker = pkgs.dockerTools.buildLayeredImage {
  name = "registry.fly.io/douglas-adams-quotes";
  tag = "latest";
  contents = with pkgs; [ cacert ]; # <--
  config.Cmd = "${bin}/bin/douglas-adams-quotes";
};
Then you type in nix build .#docker and whack enter. A shiny new image will show up in ./result.
그런 다음 nix build .#docker 입력하고 Enter를 누르세요. 반짝이는 새 이미지가 ./result 에 표시됩니다.
nix build .#docker
Load it using docker load < ./result and it'll be ready for deployment.
docker load < ./result 사용하여로드하면 배포 할 준비가됩니다.
docker load < ./result
TODO: embed video TODO : INMED VIDEO
Opening the image in dive, we see that every layer adds another package from nixpkgs until you get to the end where it all gets tied together and any contents are symlinked to the root of the image.
dive 에서 이미지를 열면, 모든 레이어가 서로 연결되고 모든 콘텐츠가 이미지 루트에 심볼릭 링크되는 끝에 도달할 때까지 모든 레이어가 nixpkgs의 다른 패키지를 추가하는 것을 볼 수 있습니다.

A successful slide with a lot of cheery imagery.
많은 기분 좋은 이미지가있는 성공적인 슬라이드.
And that's it! All that's left is to deploy it to the cloud and find out if you just broke production. It should be fine, right?
그리고 그게 다야! 남은 것은 이를 클라우드에 배포하고 방금 프로덕션이 중단되었는지 확인하는 것입니다. 괜찮을 텐데요, 그렇죠?
The really cool part is that this will work for the cases where you have single images exposed from a code repository, but that content-aware hackery doesn't end at making just one of your services faster to upload.
정말 멋진 부분은 코드 저장소에서 노출된 단일 이미지가 있는 경우에 이 기능이 작동하지만 콘텐츠 인식 해커가 서비스 중 하나를 더 빠르게 업로드하는 것으로 끝나지 않는다는 것입니다.
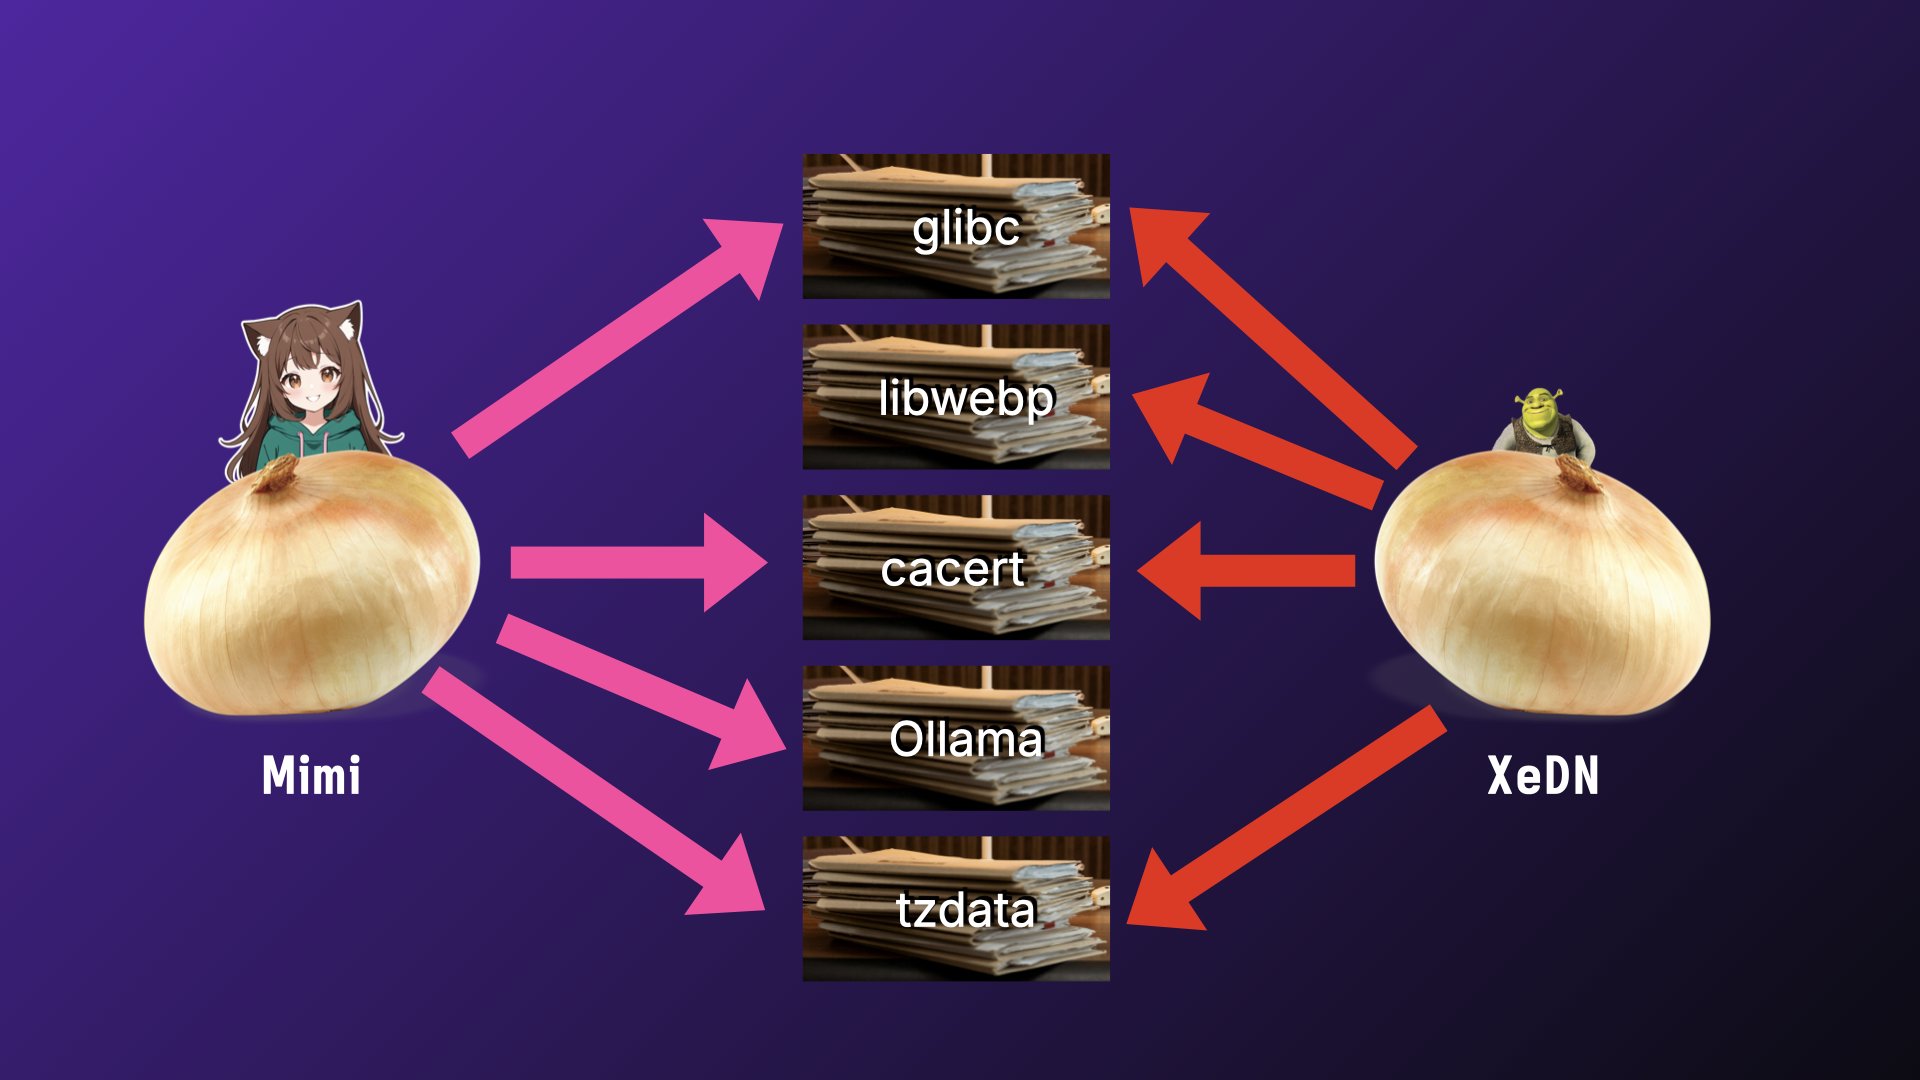
A diagram showing several programs sharing the same layers.
동일한 레이어를 공유하는 여러 프로그램을 보여주는 다이어그램.
If you have multiple services in the same repository, they'll share docker layers between each other. For free. Without any extra configuration. I don't think you can even dream of doing this with Docker without making a bunch of common base images that have a bunch of tools and bloat that some of your services will never make use of.
동일한 저장소에 여러 서비스가있는 경우 서로 사이에 Docker 레이어를 공유합니다. 무료로. 추가 구성없이. 나는 당신이 당신의 서비스 중 일부가 절대 사용하지 않을 도구와 부풀어 오르는 일반적인 기본 이미지를 만들지 않고 Docker와 함께 이것을하는 꿈조차 할 수 없다고 생각합니다.
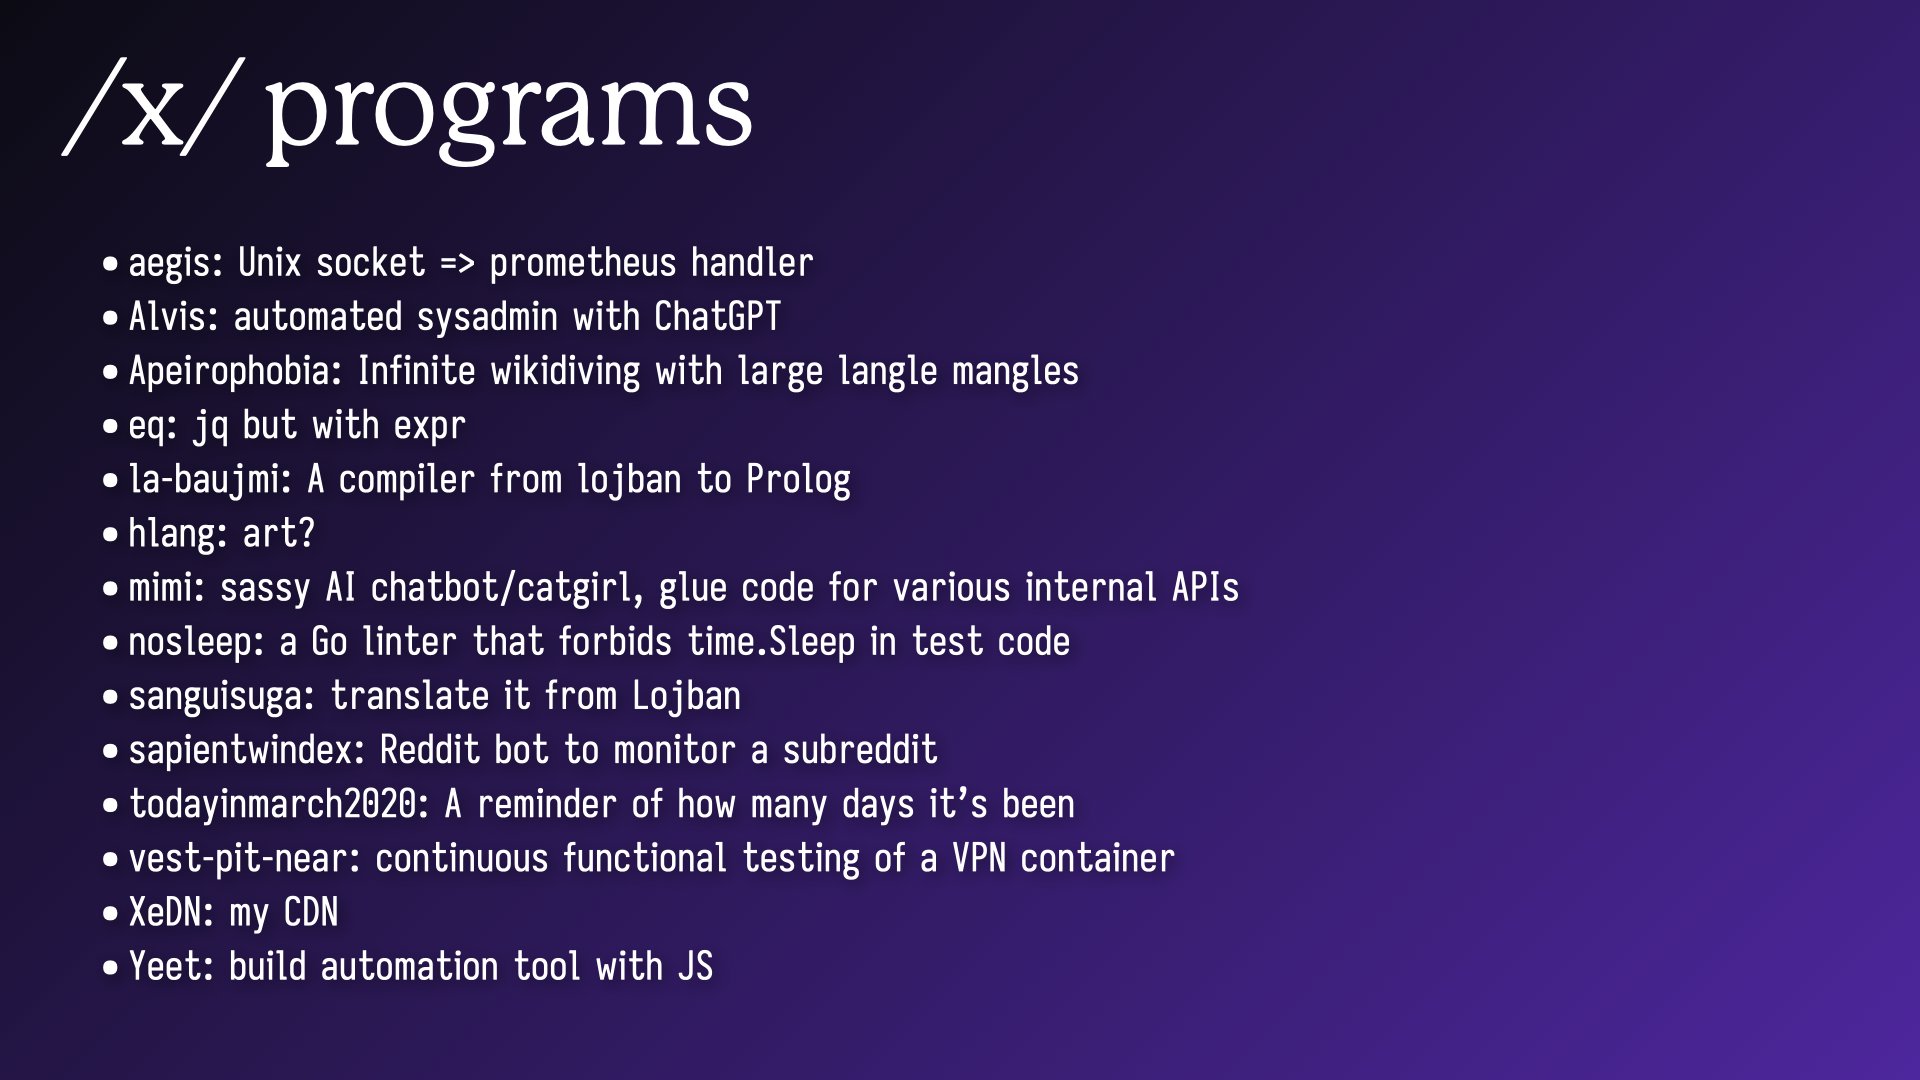
As a practical example, I have a repo I call "x". It's full of a decade's worth of side projects, experiments, and tools that help me explore various bits of technology. It's also a monorepo for a bunch of other projects:
실용적인 예로서, 나는 "x" 라고 부르는 저장소가 있습니다. 그것은 10 년 동안의 부업, 실험 및 다양한 기술을 탐색하는 데 도움이되는 도구로 가득합니다. 또한 다른 많은 프로젝트를위한 Monorepo입니다.
A diagram showing several programs sharing the same layers.
동일한 레이어를 공유하는 여러 프로그램을 보여주는 다이어그램.
This is a lot of stuff and I don't expect anyone to read that, so I made the text small enough to discourage it. Most of it is deployed across like three platforms too, but I've been slowly converging on one common deployment backbone by shoving everything into Docker images.
내용이 너무 많아서 누구도 읽을 수 없을 것 같아서 텍스트를 작게 만들어서 읽지 않도록 했습니다. 대부분은 세 가지 플랫폼에 걸쳐 배포되지만 모든 것을 Docker 이미지에 넣어 하나의 공통 배포 백본으로 천천히 수렴해 왔습니다.
A diagram showing several programs sharing the same layers.
동일한 레이어를 공유하는 여러 프로그램을 보여주는 다이어그램.
Pushing updates to any one of these services also pushes parts of the updates to most of the other ones. This saves me a lot of time and money across my plethora of projects. Take that, Managed NAT Gateway!
이러한 서비스 중 하나에 업데이트를 푸시하면 업데이트의 일부가 다른 대부분의 서비스를 제공합니다. 이것은 나에게 많은 프로젝트에서 많은 시간과 돈을 절약합니다. NAT 게이트웨이를 관리했습니다!
Oh no, I think I sense it, you do too right? It's the pedantry alert! Yes in theory I could take advantage of Docker caching to build the images just as efficiently as Nix, but then my build steps would have to look like this:
아뇨, 제가 느껴지는 것 같아요. 그것은 과도한 경고입니다! 그렇습니다. 이론적으로 나는 Docker Caching을 이용하여 Nix만큼 효율적으로 이미지를 빌드 할 수 있지만 내 빌드 단계는 다음과 같이 보일 것입니다.
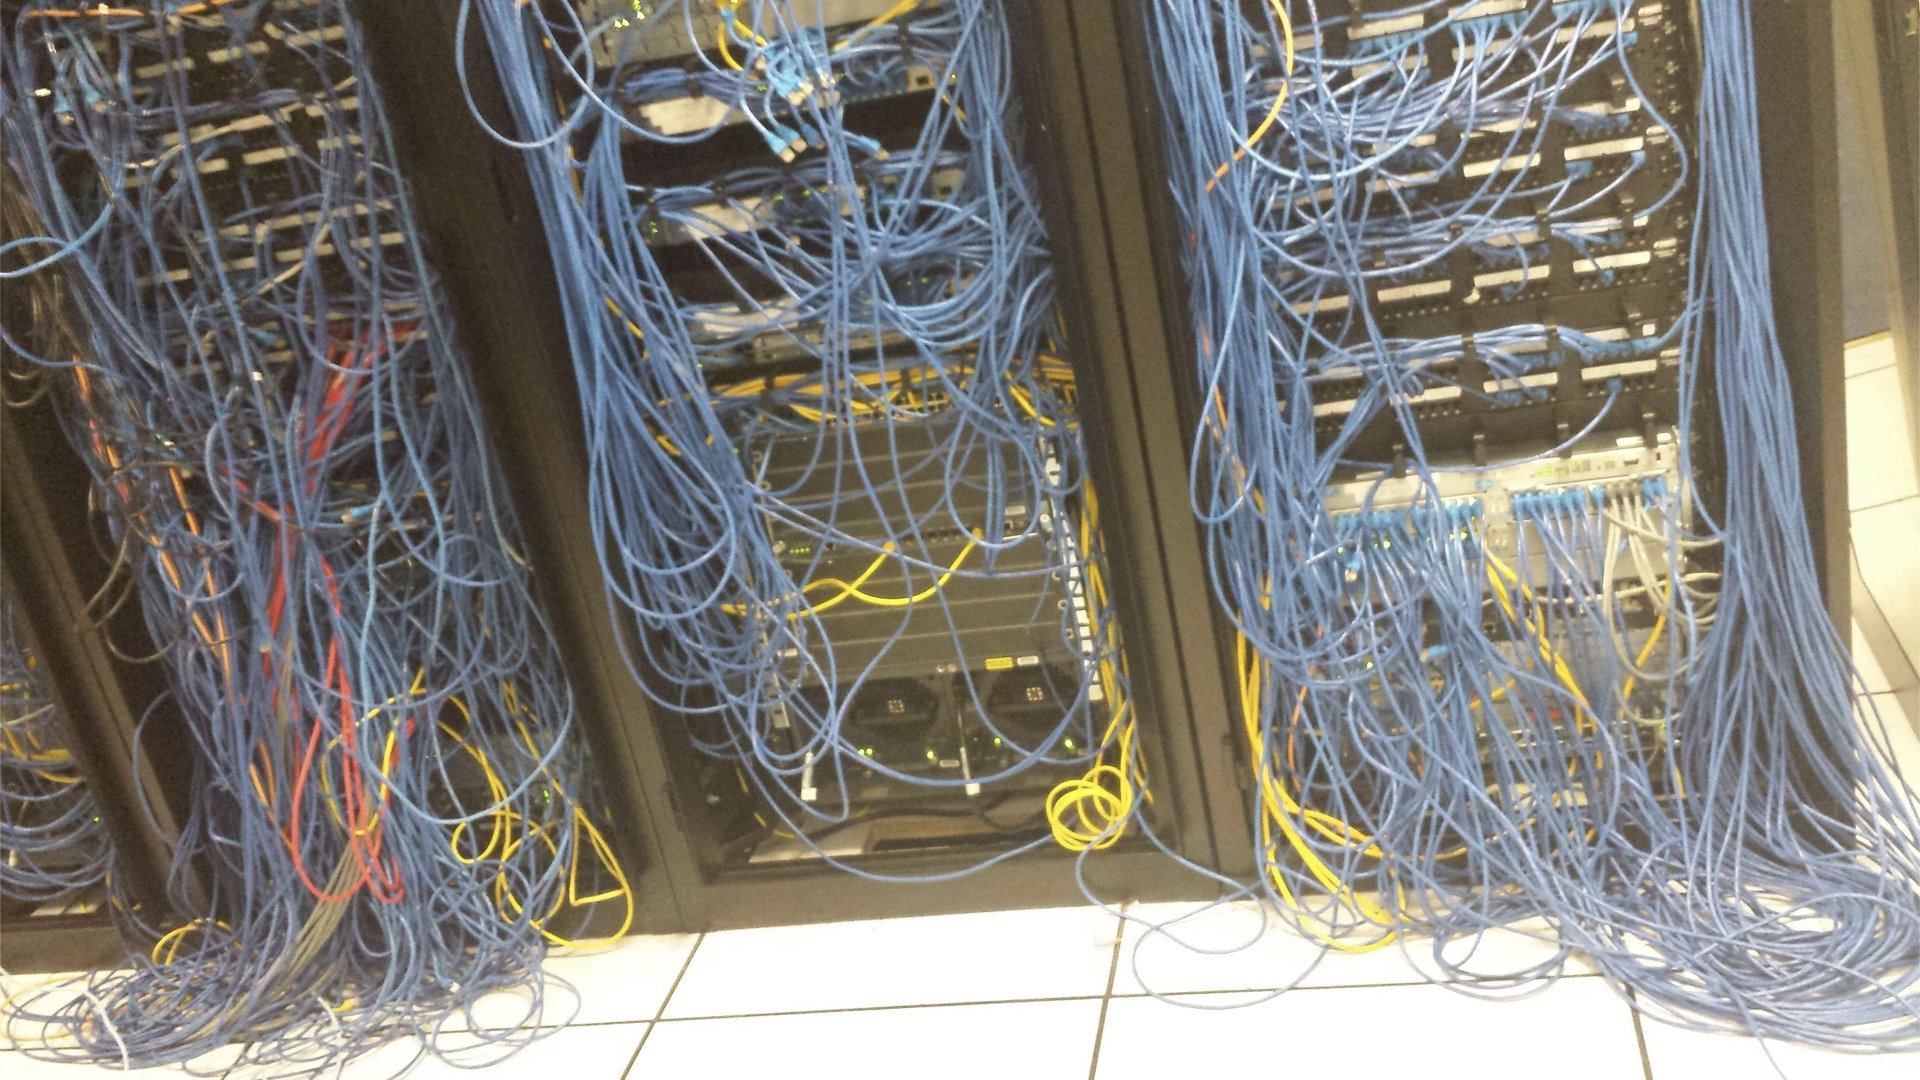
A giant depressing mess of wires.
전선의 거대한 우울한 혼란.
Sure, you can do it, but you'd end up with unmaintainable balls of mud that would have you install shared libraries into their own layers and then you risk invoking the wrath of general protection fault. Not only would you have to turn the network stack back on during builds (there goes reproducibility!), I'd have to rejigger search paths, compiler flags, CGO-related goat sacrifices and more. It'd just be a mess.
물론, 당신은 그것을 할 수 있지만, 당신은 공유 된 라이브러리를 자신의 층에 설치하고 일반 보호 결함의 분노를 불러 일으킬 위험이있는 진흙의 공을 얻을 수없는 공을 얻을 수 있습니다. 빌드 중에 네트워크 스택을 다시 켜야 할뿐만 아니라 (재현성이 있습니다!) 검색 경로, 컴파일러 플래그, CGO 관련 염소 희생 등을 재건해야합니다. 그것은 단지 엉망이 될 것입니다.
docker = pkgs.dockerTools.buildLayeredImage {
  name = "registry.fly.io/douglas-adams-quotes";
  tag = "latest";
  contents = with pkgs; [ cacert ];
  config.Cmd = "${bin}/bin/douglas-adams-quotes";
};
Look at this though, it's just so much simpler. It takes the package and shoves it into a container for you so you don't need to care about the details. It's so much more beautiful in comparison.
그래도 이것을보십시오. 훨씬 간단합니다. 패키지를 가져 와서 컨테이너로 밀어서 세부 사항에 신경 쓰지 않아도됩니다. 비교하면 훨씬 더 아름답습니다.
Above all though, the biggest advantage Nix gives you is the ability to travel back in time and build software exactly as it was in the past. This lets you recreate a docker image exactly at a later point in the future when facts and circumstances demand because that one on-prem customer had apparently never updated their software and was experiencing a weird bug.
그러나 Nix가 제공하는 가장 큰 장점은 과거와 마찬가지로 시간을 거슬러 올라가서 소프트웨어를 구축 할 수 있다는 것입니다. 이를 통해 사실과 상황이 요구 될 때 미래의 후반에 Docker 이미지를 정확하게 재현 할 수 있습니다. 한 예측 고객이 소프트웨어를 업데이트하지 않았고 이상한 버그를 경험했기 때문입니다.
This means that in theory, when you write package builds today, you're taking from that time you would have spent in the future to recreate it. You don't just build your software though, you crystallize a point in time that describes the entire state of the world including your software to get the resulting packages and docker images.
이것은 이론적으로, 오늘 패키지 빌드를 작성할 때, 그때부터 미래에 그것을 재현하는 데 소비했을 것임을 의미합니다. 당신은 당신의 소프트웨어를 구축 할뿐만 아니라, 소프트웨어를 포함하여 전 세계 전체를 설명하여 결과 패키지와 도커 이미지를 얻을 수있는 시점을 결정합니다.
I've been working on a project called XeDN for a few years. Here's how easy it is to build a version from 14 months ago:
나는 몇 년 동안 XEDN 이라는 프로젝트를 진행하고 있습니다. 14 개월 전에 버전을 구축하는 것이 얼마나 쉬운지는 다음과 같습니다.
nix build github:Xe/x/567fdc2#xedn-docker
That's it. That's the entire command. I say that I want to build the GitHub repo Xe/x at an arbitrary commit hash and get the xedn-docker target. I can then load it into my docker daemon and then I have the exact same bytes I had back then, Go 1.19 and all.
그게 다야. 이것이 전체 명령입니다. 임의의 커밋 해시에서 GitHub 저장소 Xe/x를 빌드하고 xedn-docker 대상을 얻고 싶다고 말합니다. 그런 다음 이를 docker 데몬에 로드하면 그 당시에 가지고 있던 것과 똑같은 바이트, Go 1.19 등을 갖게 됩니다.
This party trick isn't as easy to pull off with vanilla docker builds unless you pay a lot for storage.
이 파티 트릭은 스토리지 비용을 많이 지불하지 않는 한 바닐라 도커 빌드로는 실행하기가 쉽지 않습니다.
An even cooler part of that is that most of the code didn't even need to be rebuilt thanks to the fact that I upload all of my builds into a Nix cache. A Nix cache lets you put the output of Nix commands into a safe place so that they don't need to be run again in the future. This means that developer laptops don't all need to build new versions of nokogiri every time it's bumped ever so slightly. It'll already be built for you with the power of the cloud.
더 멋진 점은 모든 빌드를 Nix 캐시에 업로드하기 때문에 대부분의 코드를 다시 빌드할 필요조차 없다는 것입니다. Nix 캐시를 사용하면 Nix 명령의 출력을 안전한 장소에 저장할 수 있으므로 나중에 다시 실행할 필요가 없습니다. 이는 개발자 노트북이 약간의 문제가 발생할 때마다 nokogiri의 새 버전을 구축할 필요가 없음을 의미합니다. 클라우드의 강력한 기능으로 이미 구축되어 있습니다.
I have that uploaded into a cache through Garnix, which I use to do CI on all of my flakes projects. Garnix is effortless. Turn it on and then wait for it to report build status on every commit. It's super great because I don't have to think about it.
Garnix를 통해 캐시에 업로드했습니다. 모든 플레이크 프로젝트에서 CI를 수행하는 데 사용됩니다. Garnix는 쉽지 않습니다. 켜고 모든 커밋에서 빌드 상태를보고 할 때까지 기다리십시오. 생각할 필요가 없기 때문에 매우 훌륭합니다.
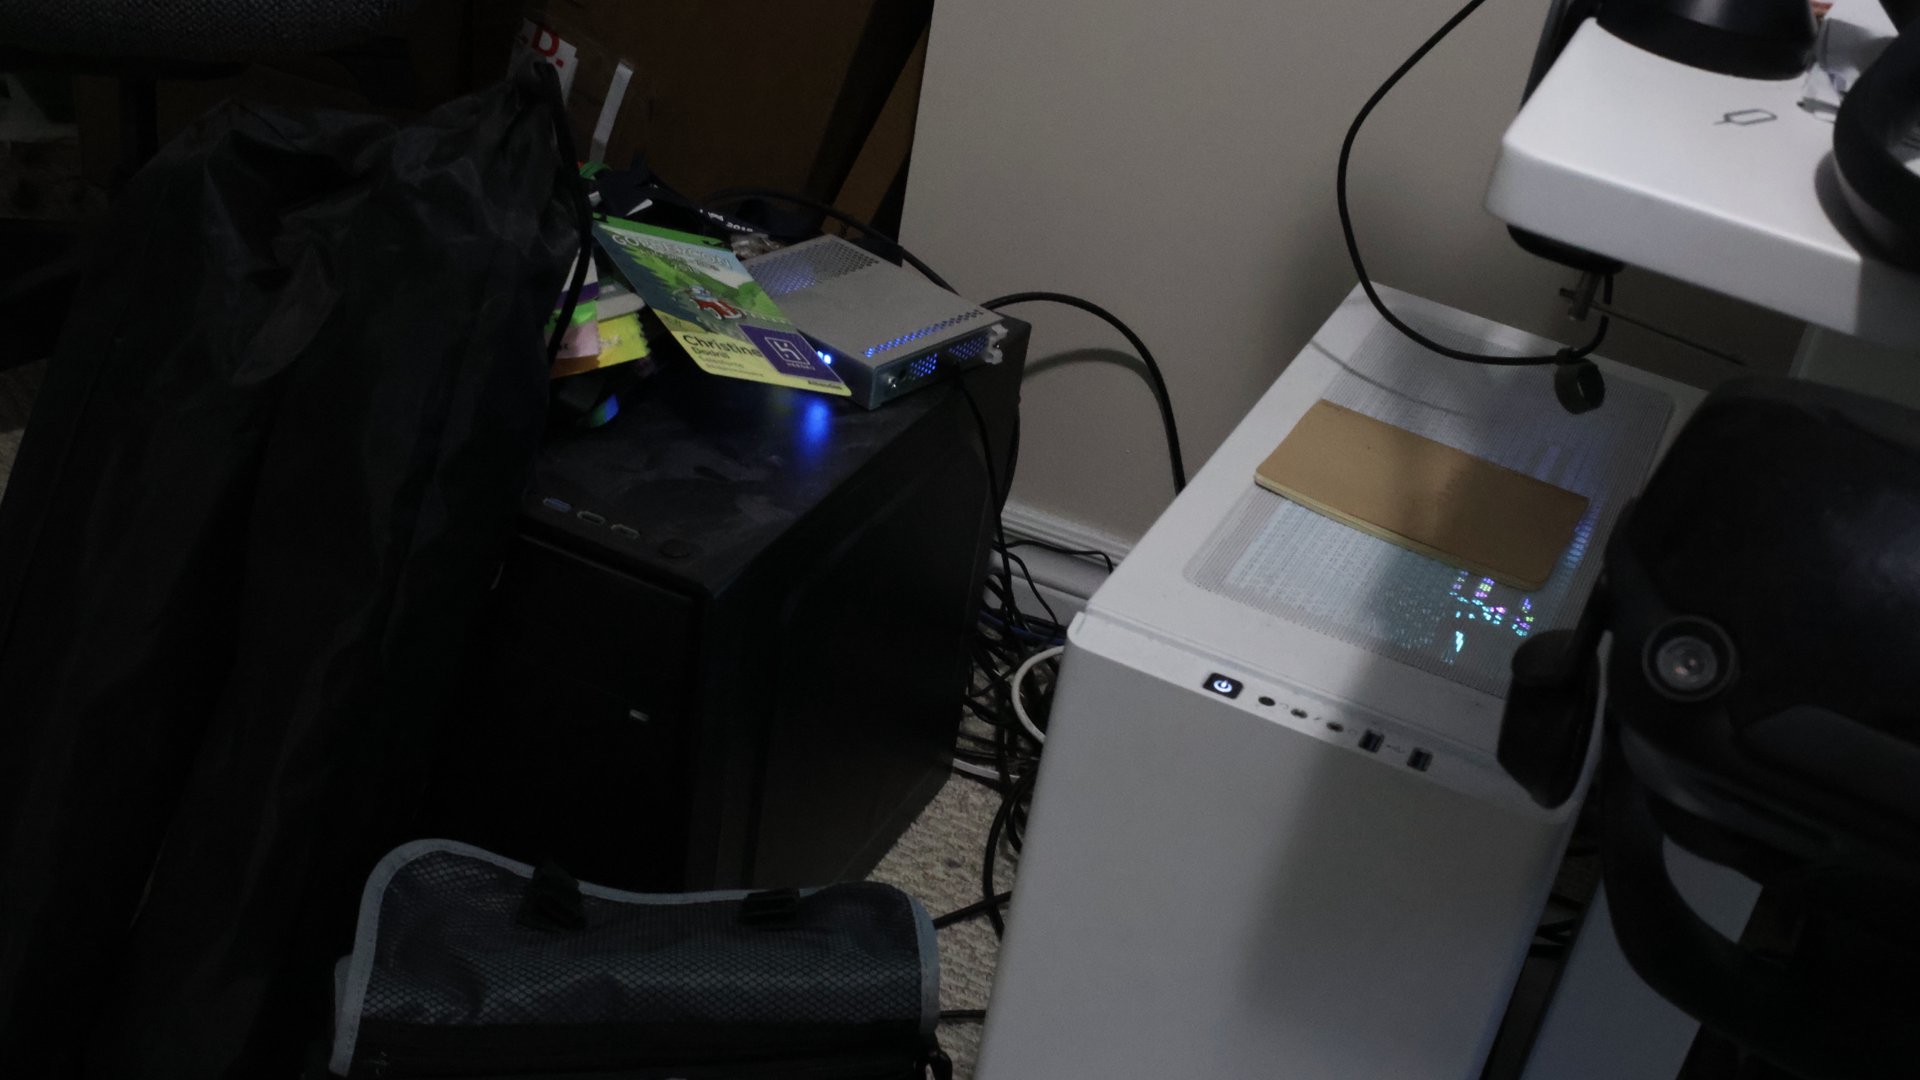
A terrible picture of my homelab.
내 홈랩의 끔찍한 사진.
I even have all of my homelab machine configurations built with Garnix so that when they update every evening, they just pull the newest versions of their config from the Garnix cache instead of building it themselves. Around 7pm or so I hear them reboot after the day of a kernel upgrade. It's really great.
나는 모든 홈랩 컴퓨터 구성을 Garnix로 구축하여 매일 저녁 업데이트할 때 직접 구성하는 대신 Garnix 캐시에서 구성의 최신 버전을 가져옵니다. 오후 7시쯤 커널 업그레이드 후 재부팅되는 소리가 들립니다. 정말 훌륭해요.
Not to mention never having to ever wait for my custom variant of Iosevka to build on my MacBook or shellbox.
내 MacBook이나 쉘박스에 Iosevka의 맞춤형 변형이 구축될 때까지 기다릴 필요가 없다는 것은 말할 것도 없습니다.
In conclusion: 결론적으로:
- Nix is a better docker image builder than docker's image builder.
Nix는 도커 이미지 빌더보다 더 나은 도커 이미지 빌더입니다. - Nix makes you specify the results, not the steps you take to get there.
Nix를 사용하면 목표에 도달하기 위해 취하는 단계가 아닌 결과를 지정할 수 있습니다. - Building Docker images with Nix makes adopting Nix easy if you already use Docker.
이미 Docker를 사용하고 있다면 Nix로 Docker 이미지를 구축하면 Nix를 쉽게 채택할 수 있습니다. - Nix makes docker images that share layers between parts of your monorepo.
Nix는 모노레포 부분 간에 레이어를 공유하는 도커 이미지를 만듭니다. - Nix lets you avoid building code that was built in the past thanks to binary caches.
Nix를 사용하면 바이너리 캐시 덕분에 과거에 빌드된 코드를 작성하지 않아도 됩니다. - And you end up with normal, ordinary container images that you can deploy anywhere. Even platforms like AWS, Google Cloud, or Fly.io.
그러면 어디에서나 배포할 수 있는 평범하고 일반적인 컨테이너 이미지가 생성됩니다. AWS, Google Cloud 또는 Fly.io와 같은 플랫폼도 가능합니다.
A slide listing everyone I have to thank for the talk.
이야기에 감사해야 할 모든 사람을 목록에 나열합니다.
Before I get all of this wrapped up, I want to thank everyone on this list for their input, feedback, and more to help this talk shine. Thank you so much!
이 모든 것을 마무리하기 전에이 목록에있는 모든 사람들에게 그들의 의견, 피드백 등에 대해이 대화에 빛을 발하는 데 도움이됩니다. 매우 감사합니다!
A conclusion slide showing information about me and the link to this page.
나와이 페이지에 대한 링크에 대한 정보를 보여주는 결론 슬라이드.
And thank you for watching! I've been Xe Iaso and I'm gonna linger around afterwards for questions. If I don't get to you and you really want a question answered, please email dockerimage@xeserv.us. I promise I'll get back to you as soon as possible.
시청 해주셔서 감사합니다! 나는 Xe Iaso 였고 나중에 질문을받을 것입니다. 내가 당신에게 가지 않고 당신이 정말로 질문에 대한 답변을 원한다면 dockerimage@xeserv.us 로 이메일을 보내주십시오. 가능한 한 빨리 당신에게 돌아갈 것이라고 약속합니다.
If you want to work with me to make developer relations better, my employer Fly.io is hiring. Catch up with me if you want stickers!
개발자 관계를 더 좋게 만들기 위해 나와 함께 일하고 싶다면 고용주 Fly.io가 고용됩니다. 스티커를 원한다면 나를 따라 잡으세요!
I have some extra information linked at the QR code on screen. This includes the source code for the Douglas Adams quotes server so you can clone it on your laptop and play around with it.
화면의 QR 코드에 추가 정보가 링크되어 있습니다. 여기에는 Douglas Adams Quotes Server의 소스 코드가 포함되어 있으므로 노트북에서 복제하고 함께 재생할 수 있습니다.
Be well, all. 잘 지내세요.
Facts and circumstances may have changed since publication. Please contact me before jumping to conclusions if something seems wrong or unclear.
출판 이후 사실과 상황이 바뀌었을 수 있습니다. 무언가 잘못되었거나 불분명 한 경우 결론에 도달하기 전에 저에게 연락하십시오.
Tags: nix, nixos 태그 : 닉스, 닉스
View slides 슬라이드를 봅니다